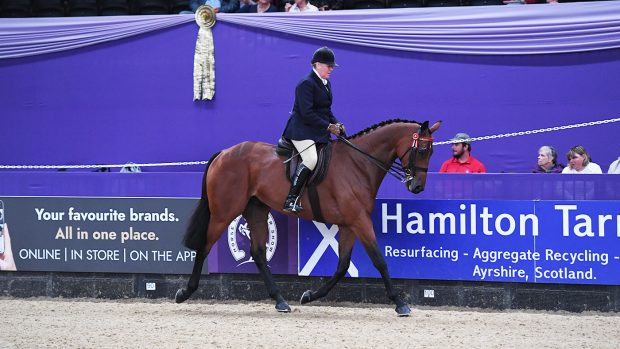
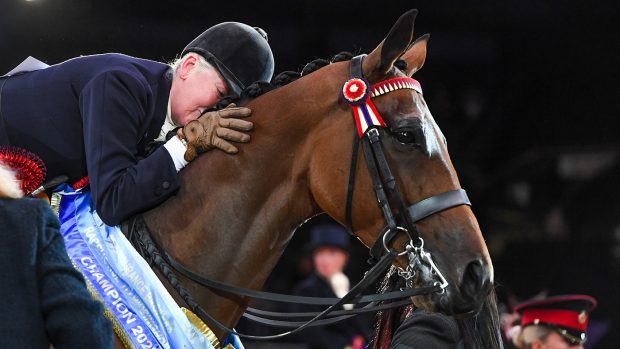
In her new book Modern Horse Management, showing supremo Katie Jerram gives a step-by-step guide to get the perfect tail plait
If you want to plait your horse’s mane but prefer to leave him with a full tail rather than shaping or pulling it, you may want to plait the hair in the dock area for competing so the horse’s hind quarters are shown off to the best possible effect. This only works if the hair at the top of the dock is long enough to get the plait started.
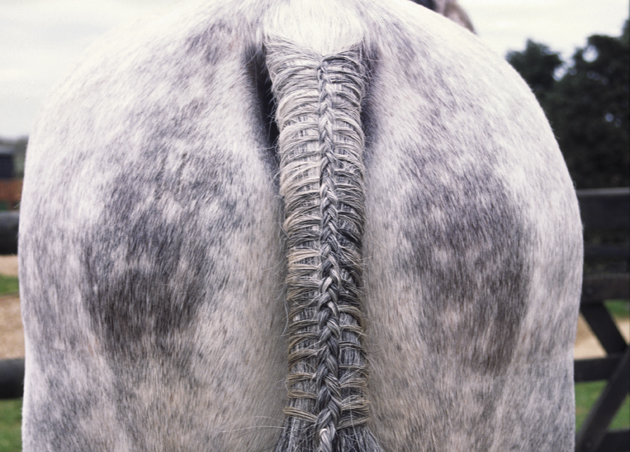
How to plait your horse’s tail
Step one
Take a small piece of hair from each side at the top of the tail. Cross them over, then take a third piece from one side. This gives you the three sections of your plait.

Credit: John Henderson
Step two
Take in extra hair each time you pass a side piece over the centre one, so you build bars of hairs down each side of the tail, with a central plait. The key points for making a neat tail plait are to take the same amount of hair each time and keep the plaiting taut. If you let it slacken, your side bars will be lopsided and your centre plait will veer off to one side.
Step three
If you pass the side sections over the top of the centre one each time, your central plait will lie flat. If you pass the side sections underneath the centre one, you will create a raised plait.
Step four
Plait down until you reach a level that suits your horse’s conformation: usually, about two-thirds of the way down the dock. Carry on plaiting, but don’t take in any more side hairs.
Step five
When you get to the end, double up and stitch, then pass the needle from front to back. Double up the long plait to the bottom of the side bars and push the needle from back to front. You can either leave the plait as a loop, or stitch down so it lies flat.
Step six
Having plaited a tail, you can put a tail bandage or tail guard on your horse to travel him as usual, but you will need to unwrap it to remove it. Don’t forget and pull a bandage down from the top, or you’ll spoil your work.
Continued below…

Katie Jerram-Hunnable: 11 steps to create your horse’s best ever plaits

Subscribe to Horse & Hound this spring for great savings
‘Mud tails’
Some people like to make ‘mud tails’ – also known as mud knots – for hunting, fastening up the hair below the dock so it doesn’t get wet and muddy. I’ve occasionally done this when we’ve been hunting point-to-pointers to qualify them, but wouldn’t do it on a sensitive horse. The tail becomes solid and heavy and, if the horse swishes it, it can hit them on the flanks and provoke a sharp reaction.
There are several ways to make a mud tail. The method I prefer is to plait the top of the tail as described above, then braid the long hairs below the dock into a single plait, stitch the bottom to secure it and finally double up the long plait and stitch it down the centre as with a mane plait.
- Buy Katie Jerram-Hunnable’s Modern Horse Management from Amazon.co.uk